Terra Cotta Pot People Quiz
Test Your Knowledge
Question of
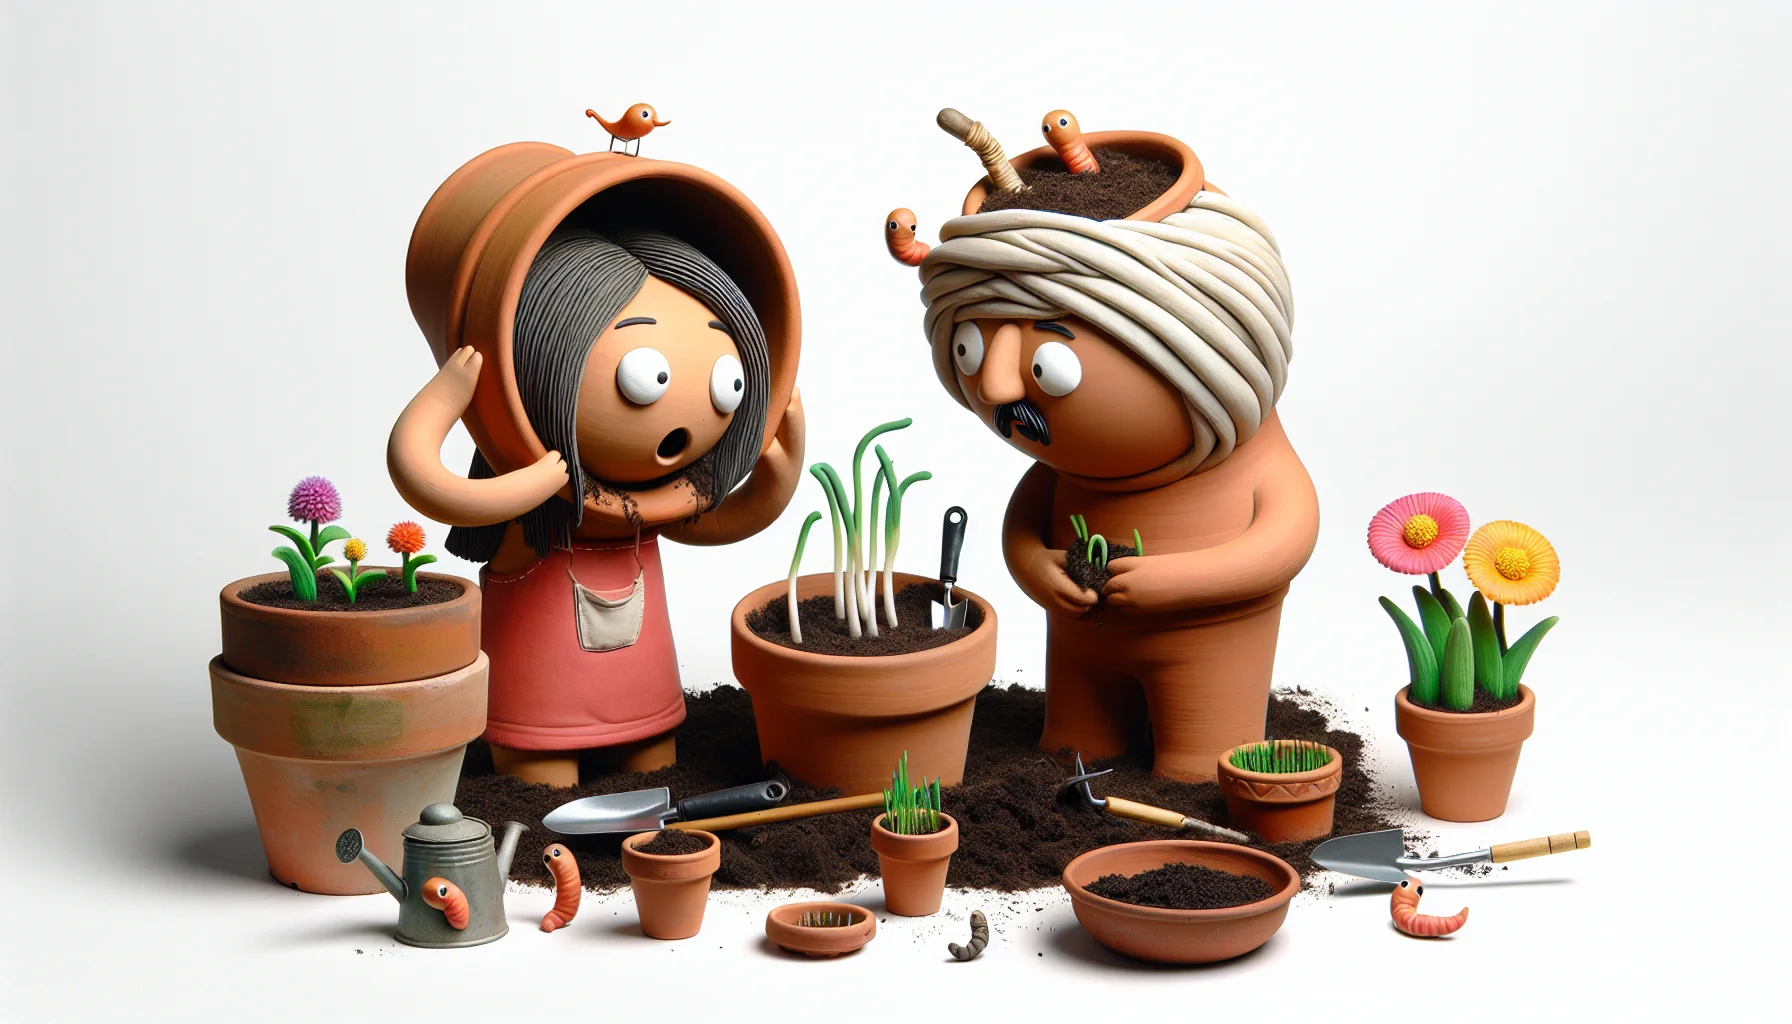
Introduction to Terra Cotta Pot People
Terra Cotta Pot People are a whimsical and creative way to add personality to gardens, patios, or any outdoor space. Made from terra cotta pots assembled to resemble human figures, these charming creations can be painted, accessorized, and positioned in various poses. Their popularity stems from their ability to transform ordinary gardening pots into playful, decorative elements that capture the imagination. Gardeners of all ages enjoy making Terra Cotta Pot People, not only as a fun craft project but also as a unique way to express their creativity and add a personal touch to their gardening spaces.
Materials Needed for Creating Terra Cotta Pot People
- Terra cotta pots of various sizes
- Outdoor acrylic paint
- Paintbrushes
- Waterproof sealant
- Felt or fabric for clothes
- Glue (waterproof if possible)
- Permanent markers
- Rope or twine for hair
- Small accessories for decoration (e.g., buttons, beads)
Step-by-Step Guide to Making Terra Cotta Pot People
- Gather Your Materials: You will need various sizes of terra cotta pots, acrylic paints, brushes, clear sealant, glue suitable for outdoor use, and decorations like googly eyes, fabric, or yarn.
- Plan Your Design: Decide on the look of your pot person. Think about how many pots you'll use for the legs, arms, and body. Sketching your design can be helpful.
- Prepare the Pots: Clean the pots thoroughly, removing all dirt and stickers. Let them dry completely.
- Paint the Pots: Apply a base coat of paint to all your pots. Once dry, add details like faces, clothes, or patterns. Let the paint dry completely between coats.
- Apply Sealant: Once the paint is dry, apply a clear sealant to protect your design from the elements. Allow it to dry according to the product instructions.
- Assemble the Body: Start assembling your pot person from the bottom up. Glue the pots together for the legs and feet, allowing each section to dry before adding the next.
- Attach the Arms: Glue the pots together for the arms and attach them to the body. Make sure they're secure before moving on.
- Add the Head: Attach the final pot on top for the head. If your design includes hair or hats, add those details before attaching the head.
- Decorate: Add any final decorations to your pot person, such as googly eyes, fabric clothes, or yarn hair. Be creative and make it your own!
- Display Your Pot Person: Find the perfect spot in your garden or on your patio for your terra cotta pot person. Enjoy your new creation!
Creative Ideas for Terra Cotta Pot People
Terra Cotta Pot People have become a delightful trend in garden decor, offering a unique and playful way to personalize outdoor spaces. These charming figures, assembled from various sizes of terra cotta pots, can be customized in countless ways to reflect personalities, interests, or the theme of a garden. For a whimsical touch, consider painting the pots in bright, vibrant colors or patterns, such as polka dots, stripes, or even floral designs. Themes can range from seasonal characters, like snowmen for winter or scarecrows for fall, to favorite fictional characters from books or movies. For those with a green thumb, creating a pot person that holds a succulent hairdo adds both a decorative and functional element to your garden. Another idea is to customize your terra cotta pot person to resemble family members or friends, making them a fun and personalized gift option. With a little creativity and some paint, these terra cotta pot people can bring a unique and joyful element to any garden or outdoor space.
Benefits of Adding Terra Cotta Pot People to Your Garden
- Aesthetic Appeal: Terra Cotta Pot People add a unique and whimsical touch to any garden, enhancing its overall beauty and charm.
- Engaging DIY Activity: Creating Terra Cotta Pot People is a fun and creative DIY project that individuals and families can enjoy together, fostering creativity and bonding.
- Customization: These garden decorations can be painted and designed in countless ways, allowing for personalization that reflects the creator's style and the garden's theme.
- Environmentally Friendly: Using terra cotta pots, a natural and durable material, contributes to a sustainable and eco-friendly garden decor option.
- Conversation Starter: The unique and often humorous appearance of Terra Cotta Pot People can serve as an excellent conversation starter with guests, adding a social element to your garden.
- Durability: Terra cotta is known for its durability, making these decorations long-lasting additions to any garden setting.
- Versatility: Terra Cotta Pot People can be adapted to fit any garden size or style, from small balcony gardens to large backyard spaces.
Maintenance Tips for Terra Cotta Pot People
Caring for Terra Cotta Pot People outdoors requires some attention to detail to ensure they withstand the elements and remain a charming addition to your garden. To start, weatherproofing is crucial. Applying a sealant designed for terra cotta can protect your pot people from moisture and prevent cracking during freeze-thaw cycles. It's recommended to reapply the sealant annually before the wet season begins. For repairs, a strong adhesive suitable for terra cotta material can fix any cracks or breaks. Be sure to clean the broken edges before applying the adhesive for the best bond. Regularly inspect your Terra Cotta Pot People for signs of wear and address issues promptly to enjoy their whimsical presence in your garden for years to come.


