Hypertufa for Beginners

This guide covers the basics of hypertufa, from an introduction and necessary materials to creating, designing, and maintaining hypertufa pots, including troubleshooting common issues.

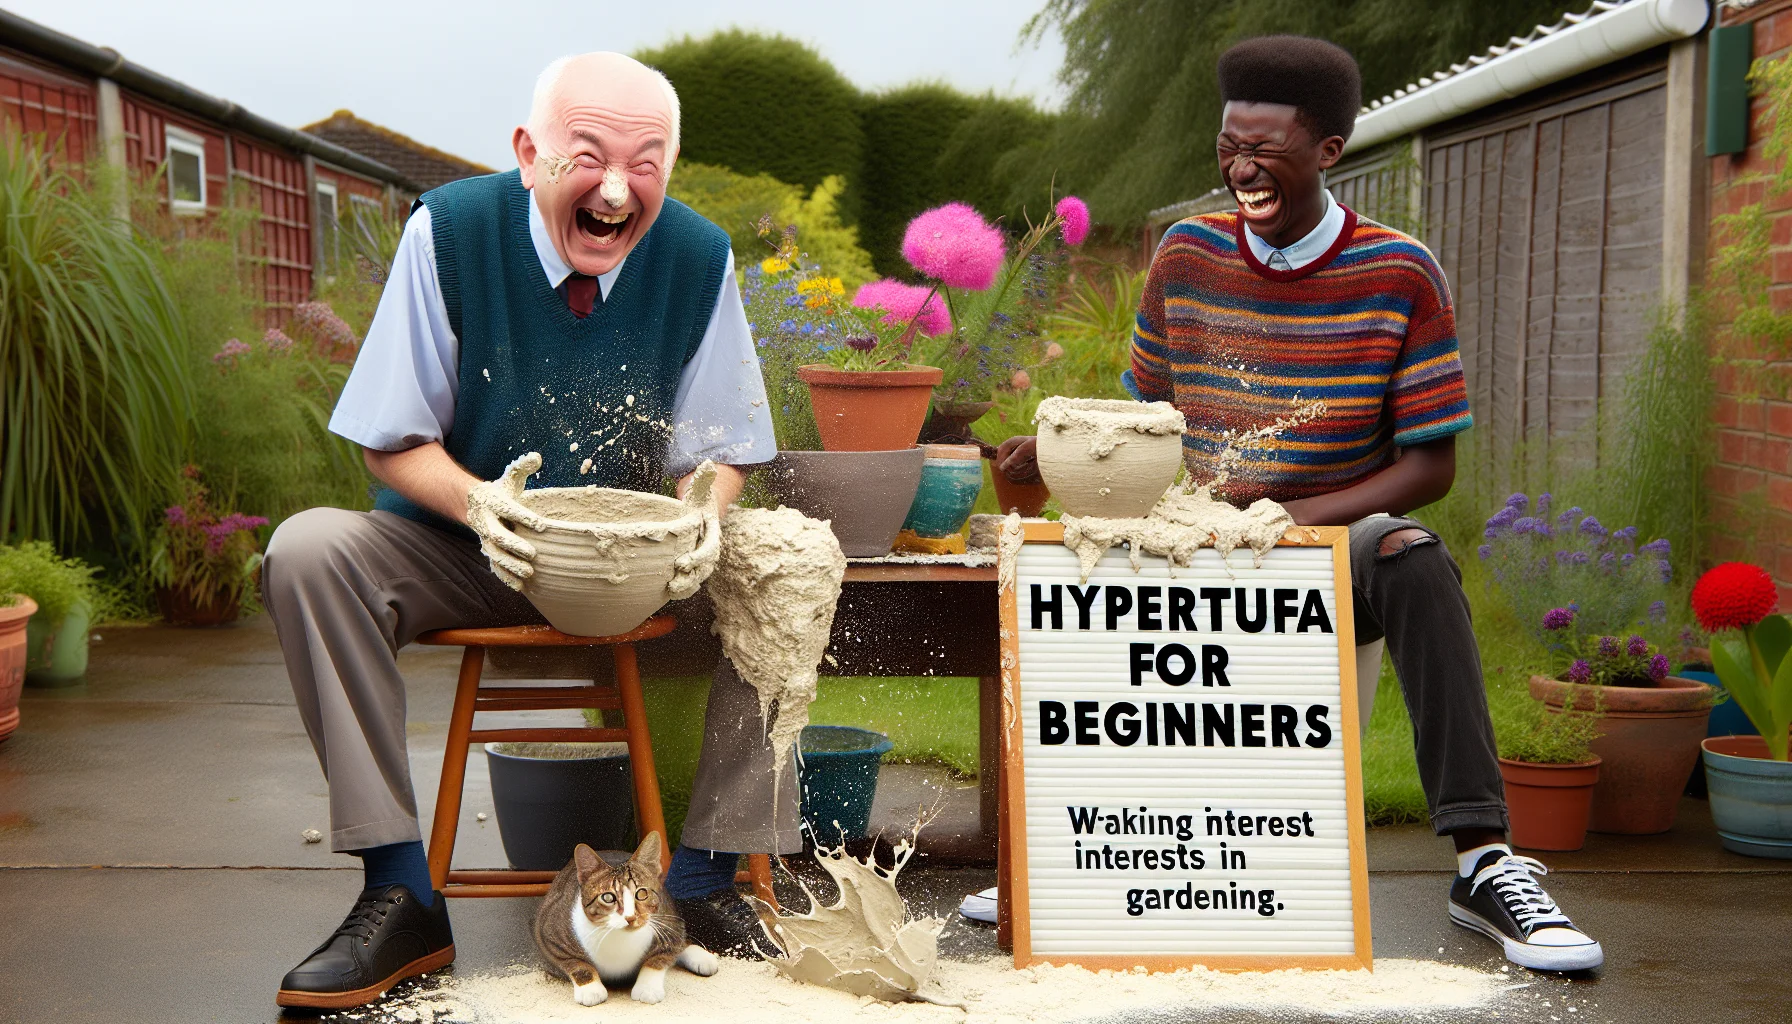
Create a humorous and realistic image that represents the joy and simplicity of starting with hypertufa in gardening. The scene can entail a jovial Caucasian elderly man and a Black teenager laughing heartily as they accidentally mess up their first hypertufa pot. The hypertufa mixture is spilling everywhere, and some even lands on the nose of an unsuspecting tabby cat standing by. A signboard on the side should read 'Hypertufa for Beginners' waking interest in gardening activities.

Hypertufa for Beginners Quiz

Test Your Knowledge

Question of

Hypertifua for Beginners: An Introduction

Hypertufa is a manmade substitute for natural tufa, which is a slowly precipitated limestone rock. Gardeners and hobbyists use hypertufa to make planters, pots, and decorative garden pieces. The material is favored for its versatility, light weight, and porous nature, which is ideal for plant growth. Creating hypertufa involves mixing certain proportions of Portland cement, peat moss, and perlite, offering a perfect DIY project for those looking to personalize their garden spaces with unique, rustic, and eco-friendly elements.

Materials Needed for Hypertifua Projects

  • Portland cement
  • Peat moss
  • Perlite or vermiculite
  • Water
  • Molds or forms
  • Non-stick cooking spray or vegetable oil (for mold release)
  • Protective gear (gloves, dust mask)
  • Bucket or wheelbarrow (for mixing)
  • Trowel or scoop
  • Wire brushes or sandpaper (for finishing touches)

Step-by-Step Guide to Making Your First Hypertufa Pot

Creating a hypertufa pot is a fun and rewarding DIY project. Hypertufa is a lightweight material made from a mixture of Portland cement, peat moss, and perlite, making it perfect for crafting unique and rustic garden containers. Follow these steps to make your own hypertufa pot.

  1. Gather all necessary materials and tools: Portland cement, peat moss, perlite, water, a large mixing container, protective gloves, a mask, and molds for your pot.
  2. In your mixing container, combine 1 part Portland cement, 1.5 parts peat moss, and 1.5 parts perlite. Mix these dry ingredients thoroughly.
  3. Add water slowly to the dry mixture, stirring continuously until you achieve a consistency similar to cottage cheese. It should be moldable but not too wet.
  4. Prepare your mold. You can use almost anything as a mold, such as a plastic container or a cardboard box. If you wish to have a pot with a drainage hole, insert a smaller object in the bottom of your mold where you want the hole to be.
  5. Wearing your gloves, press the hypertufa mixture into your mold. Start from the bottom, working your way up the sides, ensuring the walls of your pot are of even thickness.
  6. Once your mold is filled, tap the sides gently to remove any air bubbles. Cover the mold with a plastic sheet and let it cure in a cool, shaded area for 24 to 48 hours.
  7. After the curing time, carefully remove the hypertufa pot from the mold. At this point, the hypertufa will still be slightly soft. You can use a tool to smooth edges or make designs.
  8. Allow your new hypertufa pot to dry completely, which can take up to several weeks depending on the size of your pot and the humidity. Keep it in a shaded area and mist it with water periodically to prevent it from drying too quickly and cracking.
  9. Once fully cured and dry, your hypertufa pot is ready to be used. You can plant directly into it or use it as a decorative piece in your garden.

Design Ideas for Hypertufa Projects

Hypertufa projects offer a unique and rustic charm to any garden setting, making them perfect for both beginners and experienced gardeners looking to add a personal touch to their outdoor spaces. When starting out, consider experimenting with different molds to shape your hypertufa creations. Common household items like bowls, boxes, or even leaves can serve as molds to give each piece a distinctive look. Adding color pigments to the mix before molding can also introduce vibrant or subtle tones to your garden palette. For a more textured appearance, embedding small stones, glass pieces, or tiles into the surface of your hypertufa can create intricate patterns and add an extra layer of visual interest. Remember, the beauty of hypertufa lies in its versatility and the endless possibilities for customization, so don't hesitate to let your creativity flow and tailor your projects to fit the specific needs and aesthetic of your garden.

Caring for Your Hypertufa Creations

Hypertufa items, known for their rustic charm and durability, are a fantastic addition to any garden. To ensure these creations maintain their beauty and structural integrity, proper care is essential. Initially, it is important to cure hypertufa for at least three weeks after crafting, allowing it to fully harden and develop pH levels safe for plant life. During this period, keep your hypertufa moist and in a shaded area to prevent cracking. Once cured, placement in the garden should consider drainage and exposure to elements; hypertufa is frost-resistant but extreme conditions should be avoided. Regular cleaning with water and a soft brush will keep moss and algae at bay, preserving the unique texture of your hypertufa pieces. With these simple steps, your hypertufa creations will enhance your garden for years to come.

Troubleshooting Common Hypertufa Issues

Common Problems Solutions
Mixture is too dry Add small amounts of water gradually until the mixture reaches a cottage cheese-like consistency.
Mixture is too wet Add more dry ingredients in small amounts until the desired consistency is achieved.
Cracks after drying Ensure the mixture is not too dry when forming your project. Cover the project with plastic to slow down the drying process.
Surface is too rough Use a finer grade of peat moss and sand. After unmolding, use a wire brush gently to smooth the surface.
Mold or mildew growth Ensure the project is kept in a well-ventilated area to dry. If mold appears, brush it off and expose the project to sunlight.
Weak or crumbly final product Ensure the correct ratio of cement, peat moss, and perlite/sand is used. Increase the amount of cement slightly for a stronger mix.

Persimmon Puree

Create a whimsical image featuring a garden setting. In the foreground, lets have a diverse array of people gleefully partaking in gardening activities - a Caucasian woman, a Black man, a Hispanic child, and a Middle-Eastern elderly man. In the background, let's see lush vegetation bearing ample persimmons. In the middle, let's introduce an unusual sight: buckets filled with richly-coloured persimmon puree. The people seem to be using the puree as fertilizer, laughing with joy, suggesting the puree's magical properties for plant growth - a fun touch that only adds to the charm and allure of gardening.

Whip Up Your Culinary Creations With Persimmon Puree! Discover Expert Blending Techniques And Tantalizing Recipes For The Ultimate Flavor Boost. 🍊 Try It Now!

Persimmon Puree

What Are Pawpaws

Create a playful and humorous image showing a group of people thoroughly enjoying gardening. Show a Hispanic man and a Middle-Eastern woman, both wearing colorful aprons, laughing as they dig in the soil and plant pawpaw trees. Include the intriguing shapes of pawpaw fruits and trees in the background. Accentuate the earthy, sunlit ambiance of a blossoming garden. The joy of gardening and the allure of growing pawpaws should be vividly conveyed.

Discover The Delicious World Of Pawpaws! Uncover Unique Fruit Facts, Growing Tips, And Mouth-watering Recipes. Taste The Exotic 🌿🌳πŸ₯­. Click Now!

What Are Pawpaws

Chinese Astilbe

Illustrate a humorous gardening scenario featuring Chinese astilbe plants. Possibly depict a middle-aged woman of Hispanic descent unknowingly pouring what she believes to be water, but is actually a vibrant, harmless, biodegradable purple dye on her beloved plants, eliciting a surprise when they momentarily change color. Add to the scene a young Black teenager capturing this amusing incident on their smartphone, laughing heartily. In the background, let there be a lush greenery of various flowering plants, showcasing the beauty of gardening and encouraging others to partake in this pastime.

Revitalize Your Garden With Chinese Astilbe! Discover Expert Planting Tips, Stunning Varieties, And Vibrant Blooms 🌸 Click For A Botanical Masterpiece!

Chinese Astilbe

Germinating Strawberry Seeds

Imagine a whimsical scenario where small germinating strawberry seeds are putting on a garden show. They have little faces full of enthusiasm and tiny green sprouts as arms, waving cheerfully. They're perched on rich brown soil that glistens with life in a terracotta pot next to a small comical wooden sign that reads 'Enjoy gardening!'. The background has garden tools lying around playfully, a watering can is giving the performance spotlight as if it's the sun, and there's an audience of various flora enjoying the show, emitting a fulsome and enthusiastic vibe enticing people to join the joy of gardening.

Grow Your Own Juicy Strawberries From Seed! Discover Expert Tips, Proven Strategies, And Insider Secrets For Successful Germination πŸ“ Click For Fruitful Results!

Germinating Strawberry Seeds

Growing Straw

Create a surreal and captivating image that brings humor into gardening. Picture long, golden strands of wheat growing high and mightily from a small, pastel-blue ceramic pot that sits on a rustic wooden table. A miniature, handcrafted, silver gardening tool set appears propped against the pot, suggesting the straw is being actively gardened. A few straw stalks are tangled, seemingly drawn into a farcical ballet of growth and collaboration, encouraging an amusing anthropomorphic endeavor. A fanciful sun, wearing chic sunglasses and flashing a dazzling, radiant smile, hovers in the background, providing a whimsical touch. Let this image stir laughter, and inspire individuals of all descents and gender to embark upon their gardening pursuits.

Sip Sustainably With Our Growing Straw Guide! Discover Eco-friendly Alternatives, Tips For Reducing Waste, And Join The Strawvolution Today. 🌱 #GoGreen

Growing Straw

Blanch Green Beans

Prepare a captivating illustration where a group of cartoonish blanched green beans are in a humorous scenario, promoting the joys of gardening. In this animated world, the beans are portraying gardener roles, wearing small straw hats, and handling tiny gardening tools. They are cheerfully working together in a sunlit garden, tilling the soil, and planting green bean seeds. The background is abundant with ripe green bean plants growing in rows. The sight is filled with positive energy, making the act of gardening look fun and enjoyable, thereby encouraging people towards home gardening.

Transform Your Green Beans Into Gourmet Perfection! Discover Expert Blanching Techniques, Seasoning Secrets, And Serving Ideas. Elevate Your Dishes Today! 🌿🍽️

Blanch Green Beans

How Tall Do Tomato Plants Grow

A humorous depiction of a surreal backyard garden where tomato plants have grown to an extreme height, towering above like lush redwood trees. The fruits are of typical size, creating a comical contrast with their tall vines. Below, a surprised gardener, an African-American woman in her 40s, is gazing up at the towering plants with a stepladder at her side, making a playful comment about needing a taller ladder. Her Asian male neighbor in his 30s is peeking over the fence, eyes wide in astonishment. This fun, exaggerated scene inspires and reminds us to engage and find joy in gardening activities.

Grow Your Tomato Plants To New Heights! Discover Expert Tips On Maximizing Tomato Plant Growth, Achieving Bumper Harvests. Click For Green Thumb Secrets! πŸ…

How Tall Do Tomato Plants Grow

Pole Beans Vs Bush Beans

Create a humorous and realistic gardening scene with pole beans and bush beans engaged in a friendly competition. The pole beans, growing tall and slender, are carrying flags for height, while the bush beans, staying low but spread out, are showcasing their compact growth habit with a banner. There are gardening tools and plants scattered around, underscoring the fun and joy of gardening.

Unleash The Power Of Your Garden With Our Ultimate Guide On Pole Beans Vs Bush Beans! Discover Expert Tips, Maximize Yields, And Grow Like A Pro. 🌱 Click Now For Bean-growing Success!

Pole Beans Vs Bush Beans

Are Strawberries Perennials

Create a detailed and realistic image that tells a comical story of gardening. Mirror the aspect of strawberries being perennials, indicating that they return year after year. This gardening scene showcases a lush strawberry plant laden with ripe, juicy strawberries. A variety of humans of different genders and descents, in their gardening attire are laughing as they try to reach for the juicy strawberries. They exude enthusiasm and joy, seemingly enchanted by the simple pleasure of gardening. Birds and insects surround them, adding to the humor and lively atmosphere. This engaging scene should evoke a sense of joy and encourage viewers to indulge in gardening activities.

Discover How To Maximize Your Strawberry Harvest! Expert Advice On Growing Strawberries Year After Year. πŸ“ Unlock The Secrets Now!

Are Strawberries Perennials

Growing Kiwi Fruit

Imagine an amusing scene highlighting the joys of gardening. On the left, an adult Hispanic female, wearing a bright green gardening hat and gloves, is laughing heartily as she holds a watering can over a kiwi vine laden with ripe fruits. On the right, a jovial South-Asian male, dressed in blue overalls, is playfully juggling three kiwi fruits, with a look of excitement. The vine is growing in a beautiful garden bed, lush and full of various plants. In the background, the sun is setting, casting a warm golden light on this heartwarming scene.

"Boost Your Harvest With Expert Tips On Growing Juicy Kiwi Fruit! Discover Unique Strategies For Bigger Yields And Sweeter Fruits. Click For Fruitful Insights! πŸ₯"

Growing Kiwi Fruit

When To Start Tomatoes Indoors

Craft an amusing image that showcases the best time to start growing tomatoes indoors. In this jovial scene, a few tomato plants are equipped with tiny comical calenders, showing that it's time to start sowing. The plants are surrounded by standard indoor-gardening tools for context. The vibrant green leaves and red tomatoes on the plants are surrounded with a joyful atmosphere with subtle indications of laughter, like a gardening hat with a chuckling sunflower emblem, to encourage people's interest in gardening.

Kickstart Your Tomato Season! Get Expert Tips On When To Start Tomatoes Indoors For Bigger Yields And Juicier Fruits. πŸ… Don't Miss Out, Click Now!

When To Start Tomatoes Indoors

Exploring Faux Bois Art

Create an amusing visual representation of exploring Faux Bois art, a prime example of folk art from the late 19th and early 20th century, often characterized by its intricate wood-like textures, illusion of wood grains and rustic beauty. In this picture, imagine a group of people with varying descents such as Hispanic, Caucasian, Middle-Eastern and South-Asian, engaged in a lighthearted gardening scenario. Different age groups are participating, from children to the elderly, all of them laughing, smiling and enjoying while tending to plants and trees sculpted in the style of Faux Bois art.

Unleash Your Creativity With Faux Bois Art! Discover Expert Techniques, Stunning Designs, And Unleash Your Artistic Potential. Dive In Now For Exclusive Insights! 🎨

Exploring Faux Bois Art